


Quick Answer: UV printing peels off acrylic, glass, or metal mainly because of poor surface preparation, incompatible ink, insufficient curing, or unsuitable printing conditions. Clean the substrate, confirm ink compatibility, test whether a primer is needed, and verify UV curing before starting bulk production.
UV printing allows print shops to produce colorful graphics, logos, labels, and decorative effects on a wide range of materials. However, a print that looks perfect immediately after production may still scratch, chip, or peel when handled.
This problem is especially common when printing on non-porous materials such as acrylic, glass, and metal. Understanding why UV ink fails to bond properly can help you reduce rejected orders, avoid unnecessary material waste, and deliver more consistent print quality.
1. Why Does UV Ink Peel Off After Printing?
The main cause is insufficient adhesion between the cured ink layer and the substrate. UV ink hardens under ultraviolet light, but curing alone does not guarantee that the ink will bond securely to every material.
Four factors deserve particular attention:
| Possible Cause | What You May Notice | What to Check |
|---|---|---|
| Contaminated surface | Ink separates, flakes, or lifts at the edges | Dust, oil, fingerprints, cleaning residue |
| Ink incompatibility | Ink scratches or peels even after curing | Substrate type, coating, ink formulation |
| Insufficient curing | Surface remains tacky or the print rubs off easily | UV lamp performance, ink settings, print speed |
| Unsuitable pretreatment | Weak bonding on glass, metal, or certain plastics | Primer requirements and surface treatment |
These symptoms can overlap. For example, a contaminated surface and an incompatible ink may produce similar peeling. Test one variable at a time instead of changing several printer settings simultaneously.
2. How Should You Prepare Acrylic, Glass, and Metal Before UV Printing?
Start with a clean, dry, compatible surface and follow the substrate supplier's preparation recommendations. Surface preparation is one of the simplest ways to improve UV printing adhesion.
Acrylic
Acrylic sheets may contain protective-film residue, dust, static-attracted particles, or fingerprints. These contaminants can interfere with ink bonding.
- Remove the protective film according to the material manufacturer's instructions.
- Use a compatible cleaning method that does not damage or craze the acrylic.
- Allow the surface to dry completely before printing.
- Test different acrylic grades and surface finishes before production.
Glass
Glass is non-porous, so ink adhesion depends heavily on the ink formulation, surface cleanliness, and any required pretreatment.
- Remove fingerprints, grease, and cleaning residue.
- Use a glass-compatible cleaner and let the surface dry fully.
- Check whether the ink manufacturer recommends a specific primer or pretreatment.
- Test adhesion on the exact glass type that will be used for the order.
Metal
Metal substrates vary significantly. Bare aluminum, stainless steel, painted metal, and coated panels do not necessarily behave the same way during UV printing.
- Identify whether the metal is bare, painted, anodized, or coated.
- Remove oil, dust, and other contaminants with a compatible cleaning method.
- Check the coating's compatibility with the UV ink.
- Use a suitable primer or pretreatment only when recommended for the specific material.
Important: Do not assume that one cleaning agent or primer works for every substrate. Solvents can damage some plastics, and unsuitable pretreatments may create additional adhesion problems. Always follow the material and ink suppliers' safety instructions.
3. Can UV Ink Peel Off Because of Incorrect Curing?
Yes. Incorrect UV curing can compromise print performance, but more curing is not automatically better. The ink must receive an appropriate curing dose for its formulation, ink layer thickness, and printing conditions.
Check the following factors when curing is suspected:
- UV lamp condition: Confirm that the curing system is operating as intended and that the lamp or LED module has not deteriorated.
- Print speed: Excessive speed may reduce the exposure available for curing under certain configurations.
- Ink layer thickness: White ink, varnish, and multi-layer effects may require different validated settings from standard CMYK printing.
- Ink compatibility: Confirm that the ink is designed for the printer's UV curing system.
- Manufacturer settings: Follow the recommended operating parameters rather than increasing curing intensity without testing.
Surface tackiness, smearing, or poor rub resistance can indicate a curing issue, but they are not definitive proof. Some adhesion problems originate in the substrate or ink chemistry instead.
4. Does UV Printing Always Need a Primer?
No. Primer requirements depend on the substrate, ink system, surface coating, and application. Some materials can achieve acceptable adhesion without additional pretreatment, while others need a compatible primer or another approved surface treatment.
| Substrate | Key Consideration | Recommended Approach |
|---|---|---|
| Acrylic | Surface finish and plastic formulation | Test compatible UV ink first; evaluate primer if needed |
| Glass | Low surface energy and surface contamination | Confirm ink compatibility and test approved pretreatment |
| Bare metal | Surface condition and metal type | Check ink specifications and surface preparation |
| Painted or coated metal | Adhesion between the coating and the underlying material | Test the complete coating system, not just the metal |
| PVC or other plastics | Different formulations and additives | Verify material compatibility and follow supplier guidance |
For production orders, document the ink, substrate batch, pretreatment, and curing settings used in successful tests. This makes repeat orders easier to control.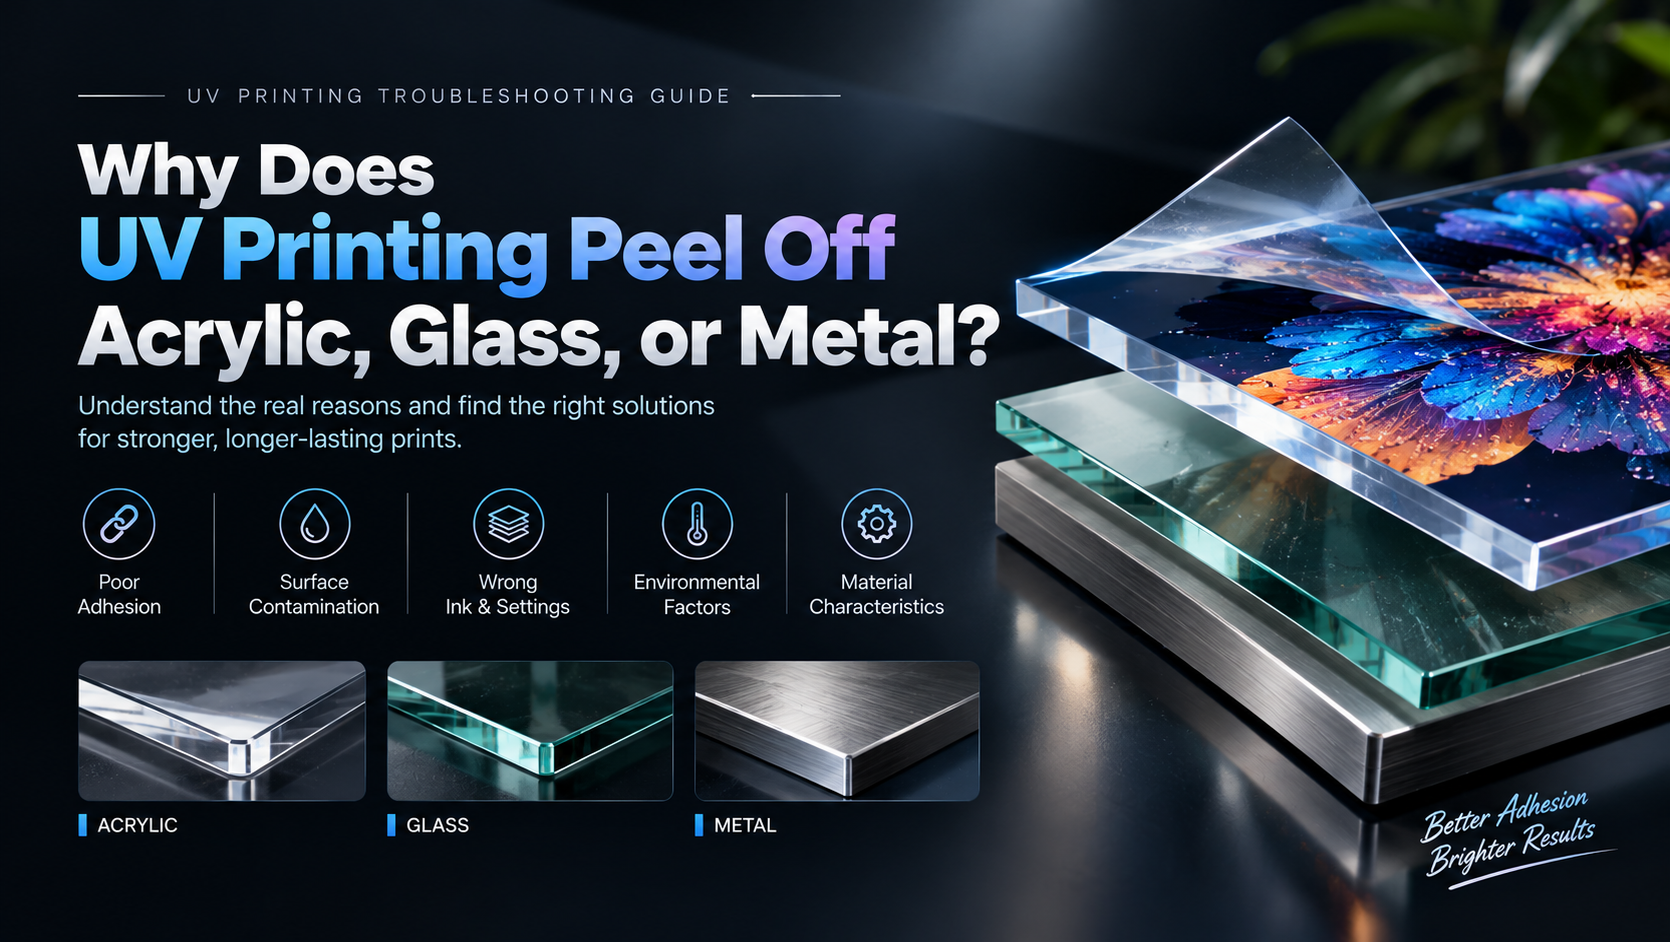
5. How Can You Test UV Printing Adhesion Before Mass Production?
Print a representative sample and test it before committing the full material batch. A successful appearance check alone is not enough to establish durability.
- Prepare the sample: Use the same material grade, finish, cleaning process, and pretreatment planned for production.
- Print with validated settings: Record the ink type, print mode, curing settings, and layer configuration.
- Allow the print to stabilize: Follow the ink manufacturer's recommended testing interval.
- Inspect the surface: Check for tackiness, cracking, edge lifting, and visible defects.
- Perform a suitable adhesion test: Use a test method appropriate for the substrate and the customer's requirements. Cross-cut and tape tests may be suitable for some coated surfaces but are not universal tests for every material.
- Check actual-use durability: Where relevant, test abrasion, moisture exposure, cleaning resistance, or other conditions the finished product will encounter.
Acceptance criteria should be agreed upon before testing. A decorative indoor panel and a product exposed to frequent handling may require different durability standards.
6. A Quick Troubleshooting Checklist for UV Printing Adhesion
| Problem | First Action | Next Step |
|---|---|---|
| Ink peels from the entire surface | Check substrate compatibility and cleanliness | Test approved pretreatment and ink settings |
| Only the edges lift | Inspect contamination and handling | Repeat the sample test with controlled preparation |
| Print remains tacky | Check curing conditions and ink compatibility | Verify curing performance with the manufacturer |
| Some materials pass but others fail | Compare material grades and coatings | Create separate substrate-specific print profiles |
| Results vary between batches | Check material consistency and process records | Standardize cleaning, testing, and production settings |
Frequently Asked Questions
Why does UV ink peel off acrylic?
Common causes include surface contamination, incompatible ink, unsuitable acrylic grades, and inadequate adhesion. Clean the surface using a compatible method and test the complete printing process before production.
How do you make UV printing stick to glass?
Use glass-compatible UV ink, remove fingerprints and residue, and check whether an approved primer or pretreatment is required. Validate adhesion on the actual glass product before printing a full order.
Does UV ink need to dry before handling?
UV ink is cured using ultraviolet light during printing. When the curing process is properly matched to the ink and application, the print can often be handled immediately. However, curing does not guarantee adhesion to every substrate.
Can a stronger UV lamp solve peeling problems?
Not necessarily. Poor adhesion may be caused by contamination, incompatible ink, or surface chemistry. Verify curing performance and investigate the substrate before changing equipment settings or replacing components.
How can print shops reduce UV printing adhesion failures?
Standardize substrate preparation, use compatible ink, validate curing settings, conduct sample adhesion tests, and keep records for repeat jobs. These steps help identify problems before they cause large-scale material waste.
Choose a UV Printing Solution That Fits Your Production Needs
Reliable UV printing depends on more than the printer alone. Ink compatibility, substrate preparation, curing performance, and repeatable production procedures all contribute to the final result.
If your business is expanding into rigid signage, decorative panels, or other UV printing applications, the right equipment configuration and technical support can help you establish a more consistent workflow.
Contact Stormjet to discuss your UV printing requirements.
Email: sale@stormjet.net
WhatsApp: +86 177 0063 9356
Website: www.stormjet.net


